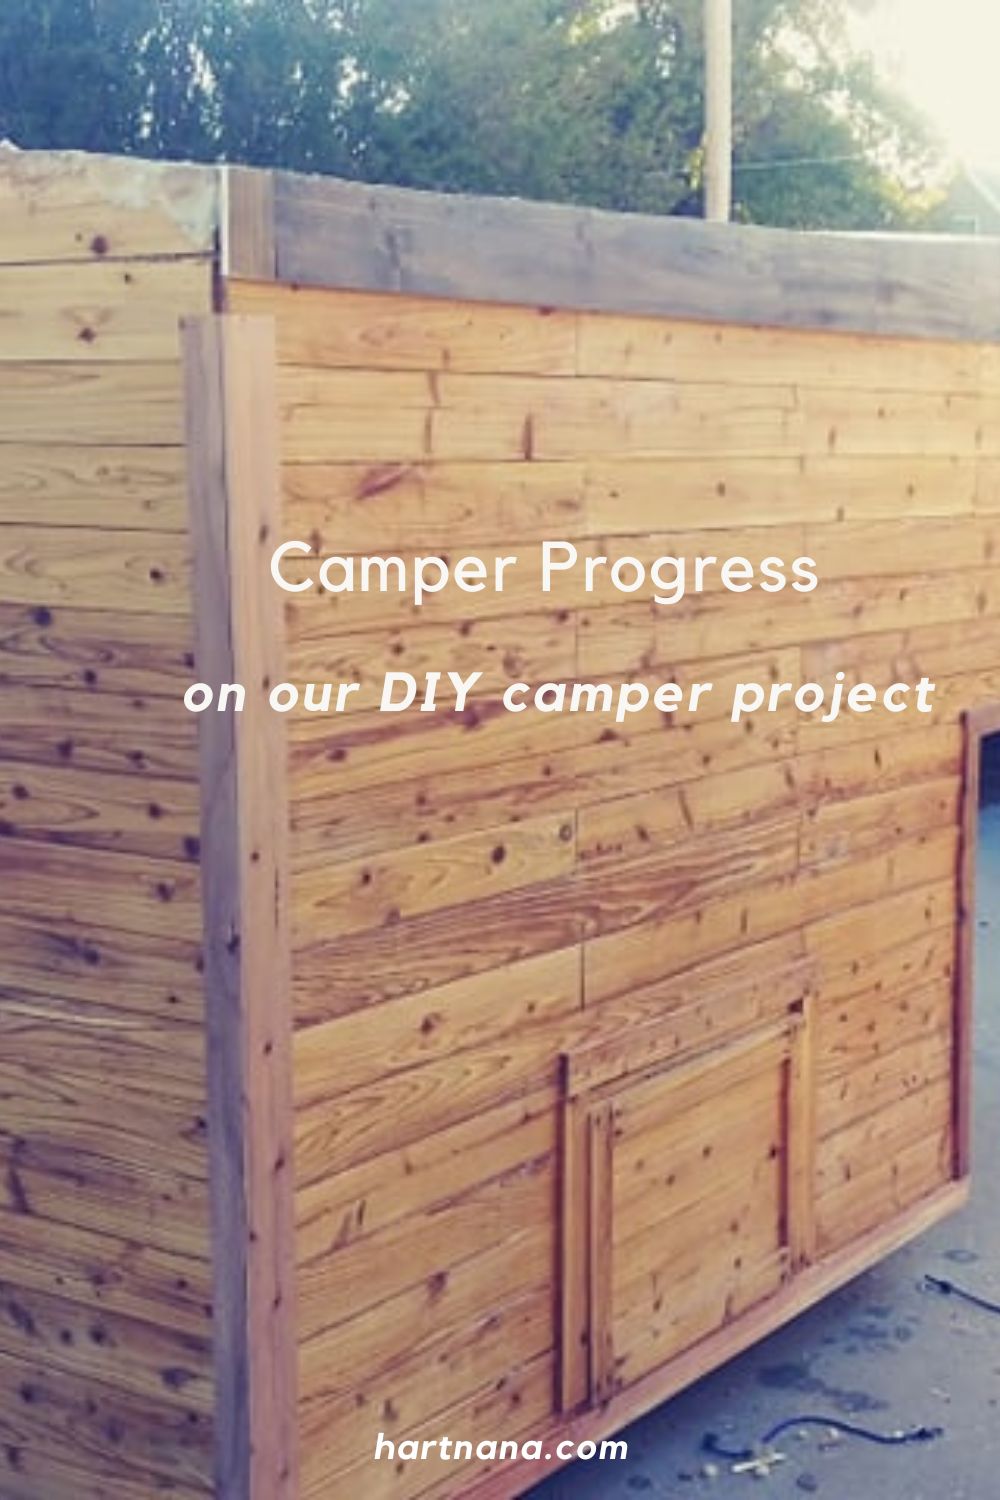
We are making progress on our DIY camper project now that spring has shown up. Just yesterday we got the first of four windows installed.
One would think that installing a window would be pretty straight forward. However, that was not our experience. To begin with we didn’t understand how the window actually went into the space as it came with NO DIRECTIONS and put together in a way that suggested it was installed completely differently than how it actually installs.
The frame was around the window in the box, but actually installs the exact opposite way. And the screws go into the channel on the interior side of the window. Now that we have the first one in, it is our hope that the next four go in much faster.
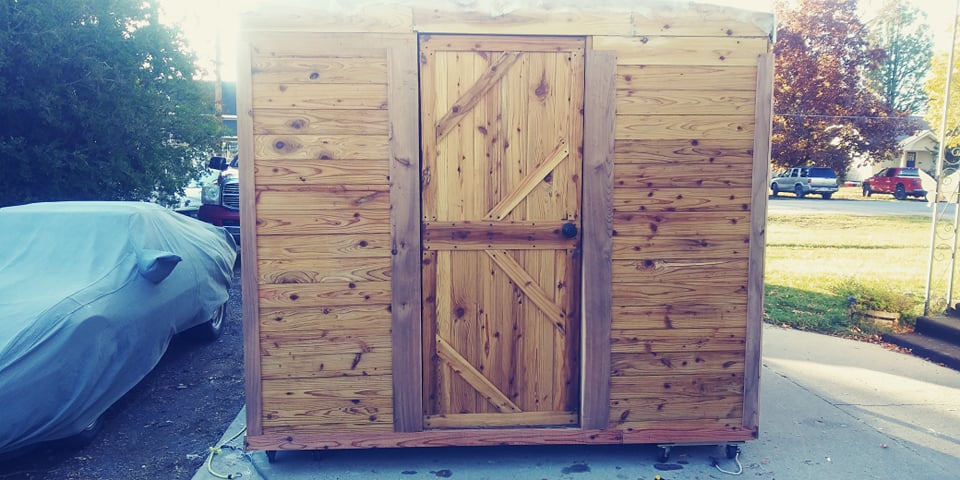
The Door of our DIY Camper Project
I’m particularly happy with how the door turned out, though it took forever to build and fit. We will be adding a round porthole window to the door after we get the other side window installed.
The Roof
The roof we made with thin plywood boards and screwed into a skeleton created around the top of the pillars on the inside. We then ran a beam down the center to that the boards would have something to attach to. Though we had intended for the camper to be 8×8 on the floor as we had started with 4 8×8 pieces of particle board with joists between them and installation, the camper with the siding is almost 2 inches larger all around.
After attaching the plywood, we used Bondo to smooth out the cracks and then put fiberglass on top. After sanding we will be adding a final coat of flex seal (clear) to the top. I do have to say that there were no leaks over the winter. Though we did have tarps on the camper for most of the winter as spring sprang, we let it get rained on a few times just to make sure there were no leaks. So far, so good.
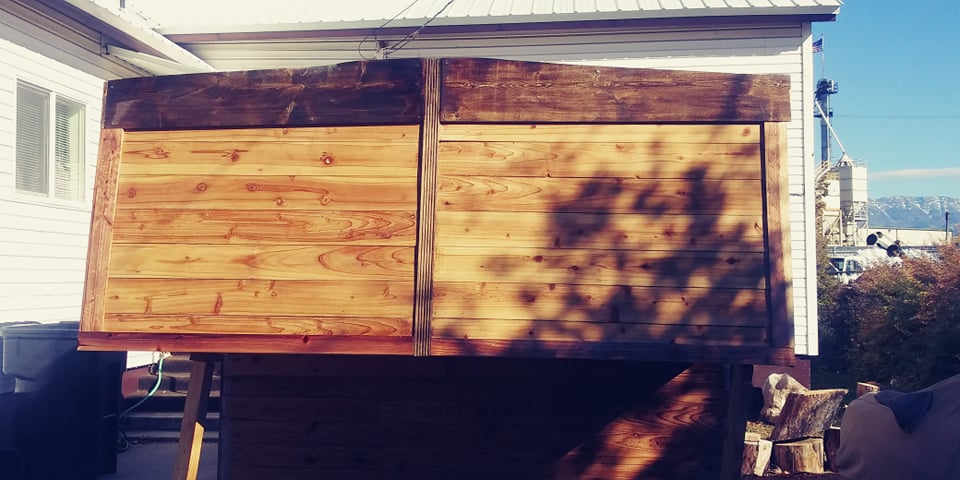
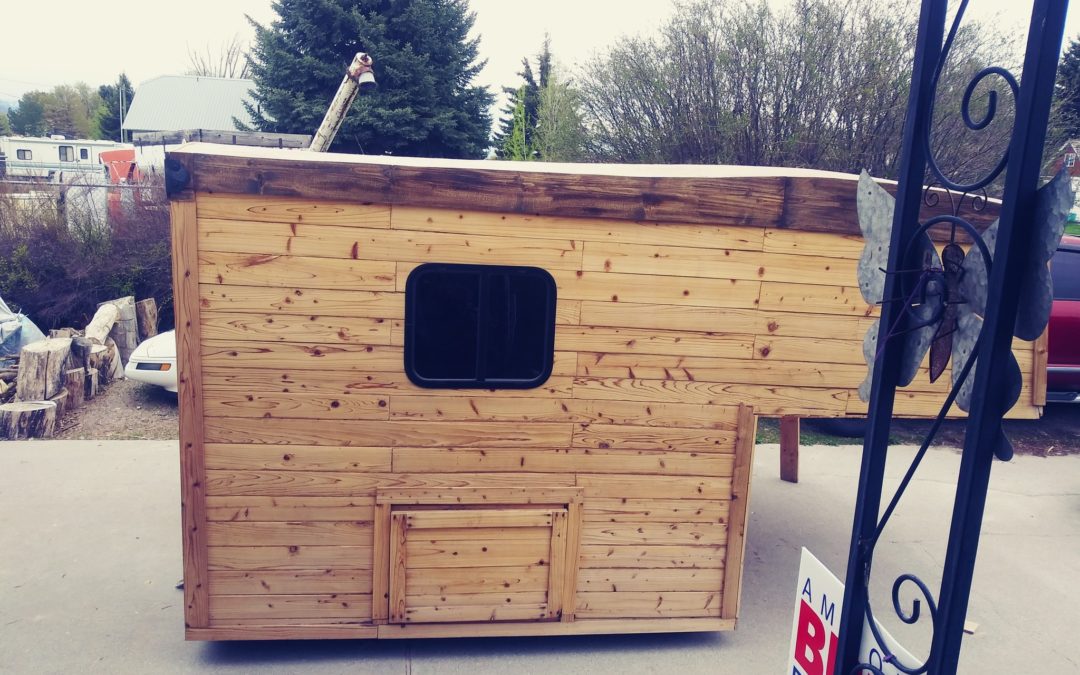
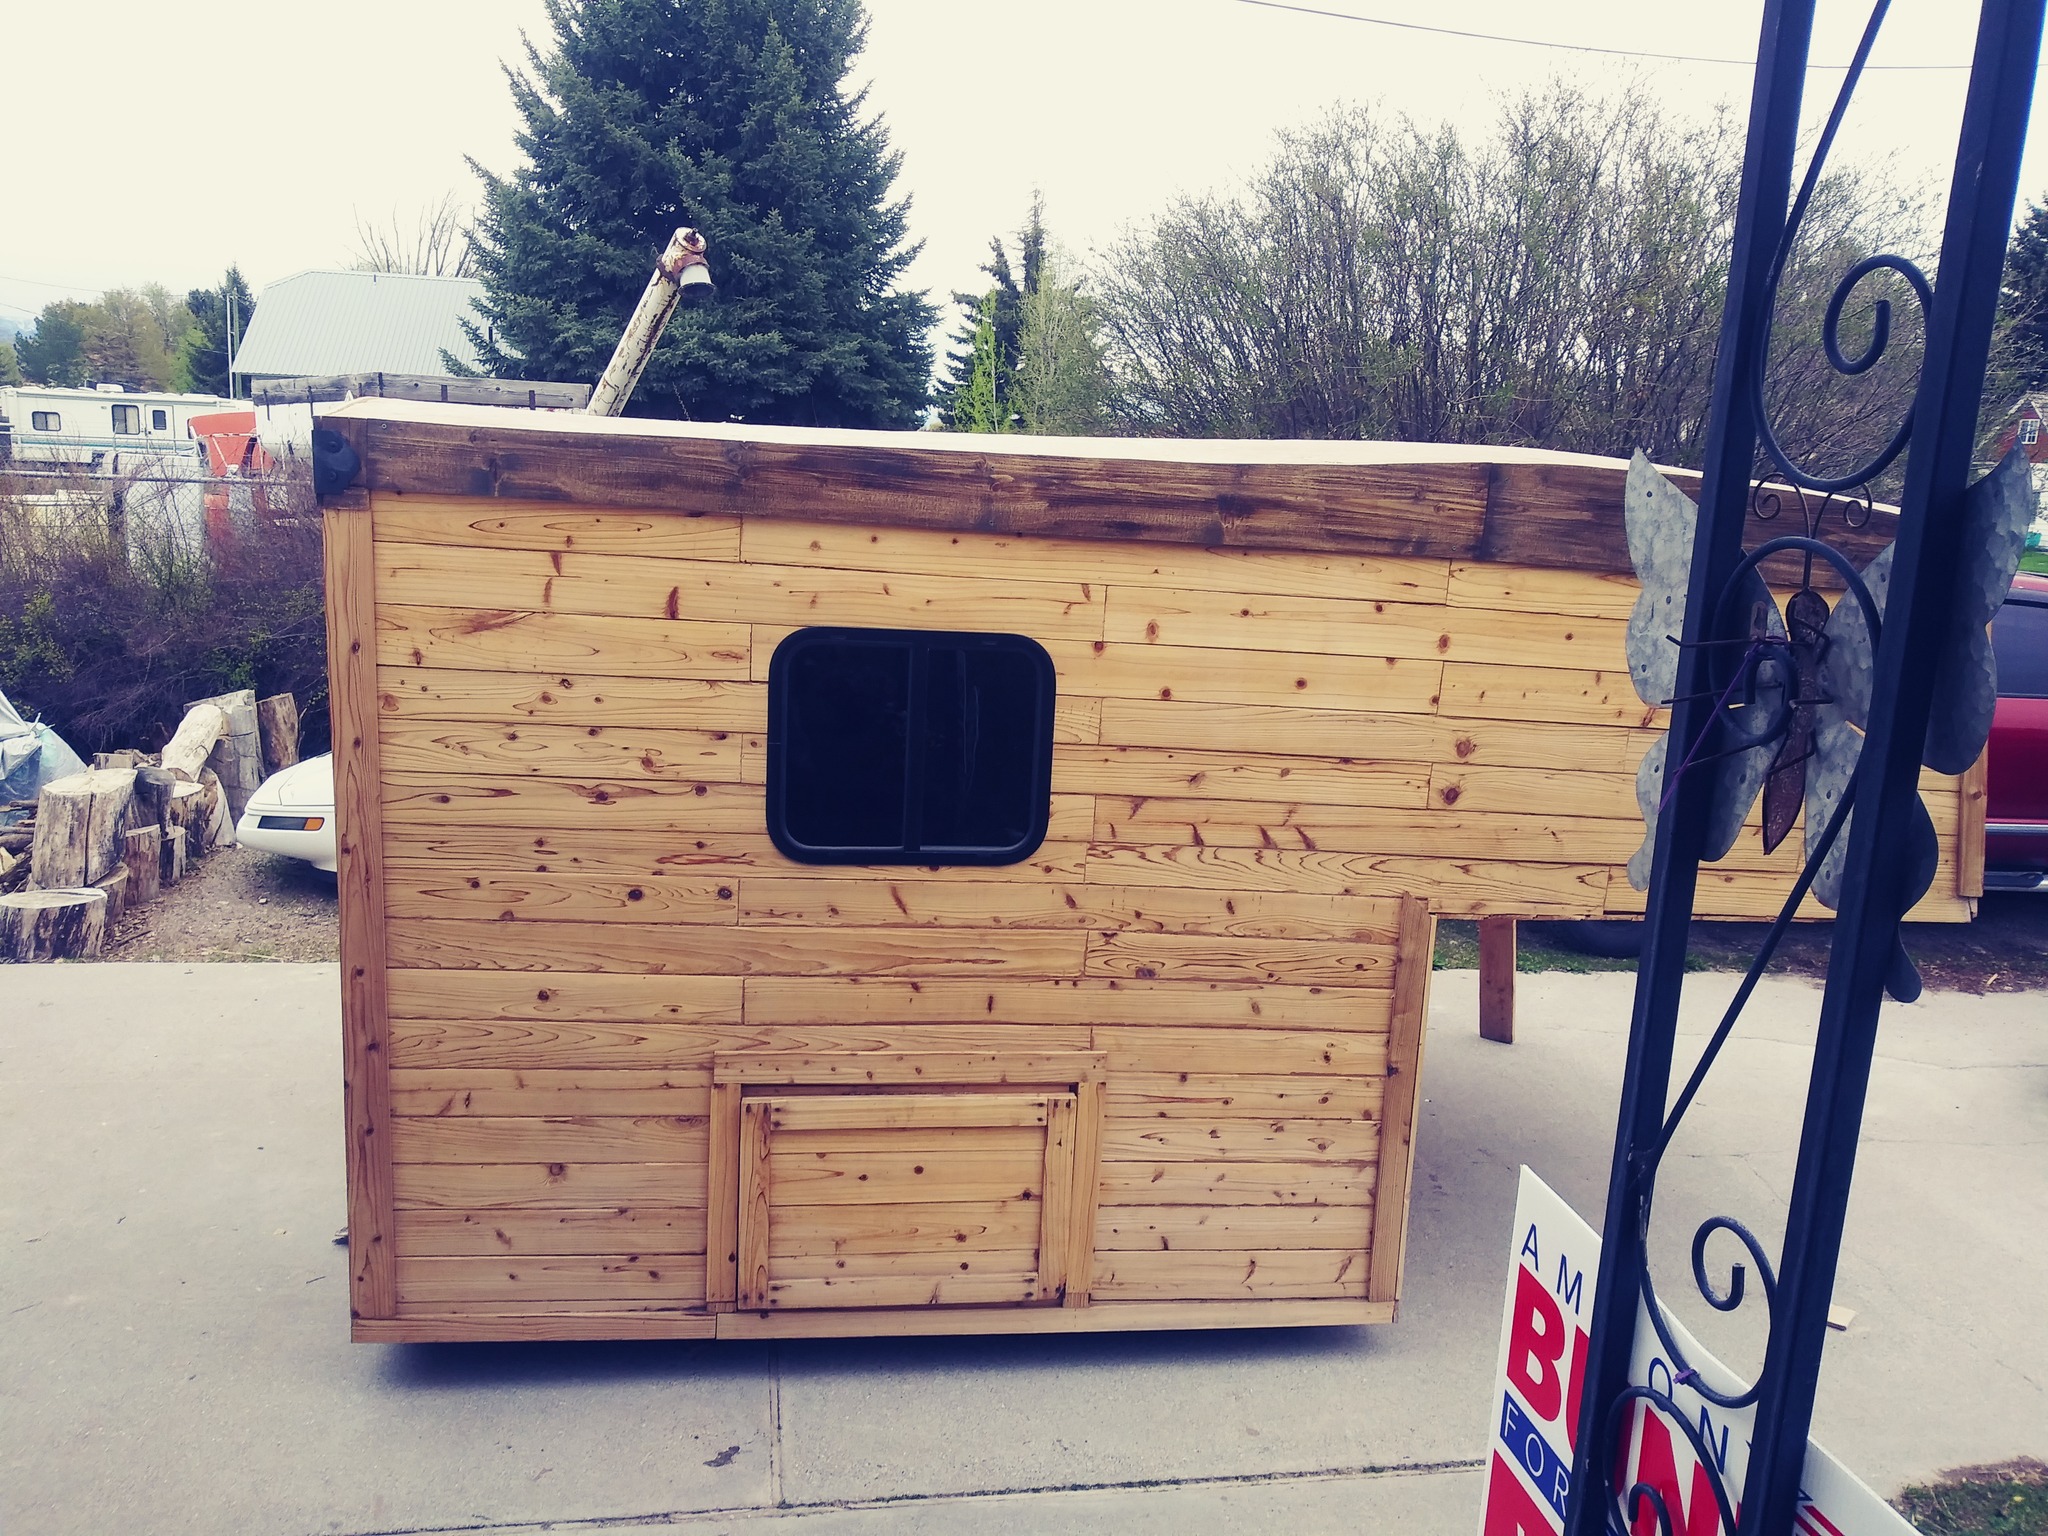
The Front
Here is a shot of the front of the camper. We added a bit of a wedge shape to it. The roof slopes backwards from the front and drops down the sides.
What We Have Left
We still need to add some finishing touches to the outside and the four windows. After that we will be turning to finishing the inside. Next up will be the marker & brake lights with inside wiring. Our plan is to connect the marker and brake lights to a pig tail so that they run off the truck batteries.
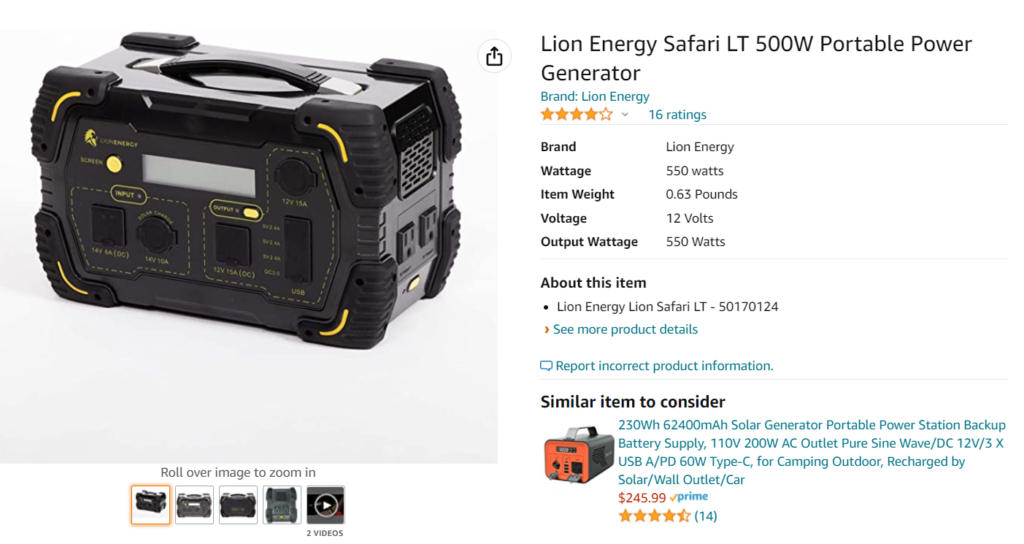
For the inside wiring we will only need a couple batteries which will hook to the solar panel we will install on the roof. We have one of these Lion Batteries.
Once the wiring is complete, we will need to finish adding the insulation and paneling on the inside and build the cabinetry. As we get these items completed there will be more posts about the steps.